
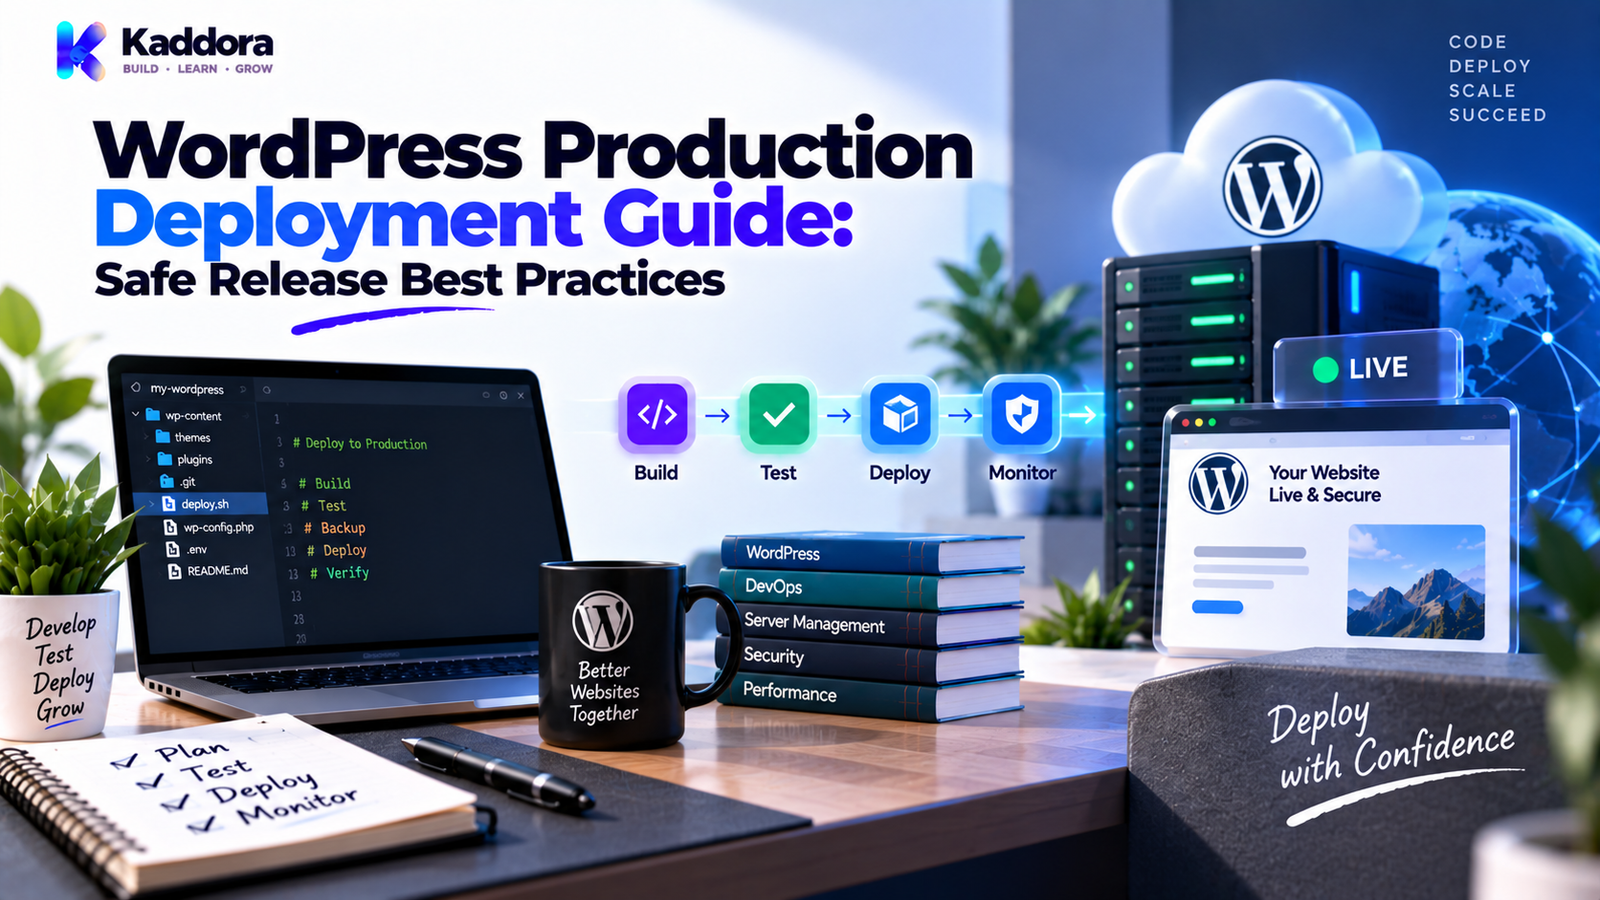
WordPress Production Deployment Guide: Safe Release Best Practices
Introduction
Deploying WordPress to production is more than uploading files to a server.
A production release can change PHP code, JavaScript, CSS, database structures, plugin behavior, theme templates, dependencies, and external integrations.
A poorly planned deployment can cause:
Website downtime
Broken pages
Database errors
Plugin conflicts
Failed payments
Missing emails
Broken APIs
Incorrect configuration
Data problems
A professional workflow creates a controlled path:
Development → Testing → Staging → Backup → Deployment → Migration → Verification → Monitoring
The process should match the website's complexity and risk.
A small business website may require a simple release checklist.
A large WooCommerce store or complex WordPress application may require automated testing, database migrations, version control, CI/CD, monitoring, and rollback planning.
What Is WordPress Production Deployment?
WordPress production deployment is the process of moving approved and tested WordPress software into the live environment.
It can include:
Plugins
Themes
PHP code
JavaScript
CSS
Built assets
Dependencies
Database migrations
Configuration
A basic flow is:
Local ↓ Staging ↓ Approval ↓ Production Backup ↓ Release ↓ Smoke Test ↓ Monitoring
The objective is to release changes without unnecessarily disrupting users or business operations.
Why Production Deployment Requires Planning
Production contains real activity.
A live website may have:
Visitors
Customers
Orders
User accounts
Form submissions
Scheduled jobs
API traffic
Payment transactions
A local environment cannot perfectly reproduce this activity.
Therefore, deployment should include checkpoints that reduce risk before and after release.
A reliable deployment strategy combines:
Preparation + Testing + Backup + Controlled Release + Monitoring
Local, Staging, and Production
Professional development commonly separates environments.
Local
Used for development, debugging, and experimentation.
Staging
Used for production-like verification.
Production
Used by real visitors and real business operations.
The normal flow is:
Local ↓ Staging ↓ Production
Avoid deploying untested changes directly to production whenever practical.
Step 1: Define the Release
Before deployment, document exactly what is changing.
For example:
Release 2.5.0 - New reporting feature - Checkout improvement - CSS fixes - Database migration
Also document:
Dependencies
Configuration changes
Database changes
Compatibility requirements
Rollback considerations
A clearly defined release reduces uncertainty.
Step 2: Verify Production Requirements
Check the production environment before deployment.
Review:
WordPress version
PHP version
Database version
Required extensions
Required plugins
Theme
Hosting configuration
External services
A production deployment should not be the first time you discover that a required PHP extension or dependency is missing.
Step 3: Test on Staging
Deploy the same release to staging before production.
Test important workflows such as:
Login
Homepage
Navigation
Search
Forms
Plugin functionality
Theme templates
REST APIs
External integrations
Cron
WooCommerce
For important websites, manually verify business-critical workflows in addition to automated tests.
Step 4: Test the Actual Release Package
Don't test only the developer's source directory.
Build the exact package intended for production.
For a plugin:
Release ZIP ↓ Clean WordPress ↓ Install ↓ Activate ↓ Test
This can reveal:
Missing files
Incorrect paths
Missing dependencies
Build problems
Packaging errors
The release artifact should be tested as users will receive it.
Step 5: Create a Verified Production Backup
Before major deployment work, create a reliable backup.
Depending on the website, this can include:
Database
WordPress files
Uploads
Configuration
Application-specific data
The process should be:
Backup ↓ Verify Backup ↓ Deploy
A backup that cannot be restored is not a dependable recovery strategy.
Step 6: Record the Current Version
Before changing production, record the current state.
For example:
Current: Plugin 2.4.0 Database Schema 12 Target: Plugin 2.5.0 Database Schema 13
Also record important dependency and configuration versions.
This makes troubleshooting and rollback easier.
Step 7: Verify Production Configuration
Staging and production may use the same code but different configuration.
Verify:
Database credentials
Site URLs
API endpoints
API credentials
Email configuration
Payment credentials
Cron behavior
Cache settings
Environment flags
Do not accidentally deploy staging credentials into production.
Step 8: Protect Production Secrets
Keep sensitive values out of:
Public repositories
Frontend JavaScript
Debug output
Documentation
Public logs
Protect:
Database passwords
API keys
Payment secrets
SMTP credentials
Authentication tokens
Encryption keys
Use a secure server or deployment configuration system appropriate to your infrastructure.
Step 9: Decide Whether Maintenance Mode Is Needed
Not every deployment requires visible downtime.
Maintenance may be necessary for:
Large database migrations
Major application changes
Non-atomic file operations
Infrastructure changes
Low-risk deployments can sometimes be released without a visible maintenance window.
Choose the approach according to actual deployment risk.
Step 10: Deploy Code
Production code may include:
PHP
JavaScript
CSS
Templates
Built assets
Runtime dependencies
A controlled release is:
Approved Release ↓ Build ↓ Verify ↓ Deploy
Avoid manually editing a large number of production files whenever a repeatable deployment method is available.
Step 11: Deploy Runtime Dependencies
If the application uses Composer packages or other runtime dependencies, ensure production receives the correct versions.
For example:
composer install --no-dev
The exact deployment command depends on the project's build process.
Production should contain everything required to run the application but should not depend on development-only tooling unless intentionally designed that way.
Step 12: Apply Database Migrations
Database changes require special attention.
A migration can:
Create tables
Add columns
Add indexes
Transform data
Change stored values
A safe workflow is:
Local Test ↓ Staging Test ↓ Production Backup ↓ Migration ↓ Verification
Never assume a migration that works on a fresh database will behave identically with a large production dataset.
Step 13: Protect Production Data During Deployment
Production may receive new data continuously.
Examples include:
Orders
Registrations
Form submissions
Customer changes
Comments
Do not blindly replace production data with staging data.
Promote only the specific code, migrations, and configuration that are intended for production.
Step 14: Handle Media Carefully
Never replace a production uploads directory blindly with a staging copy.
Production may contain newly uploaded:
Images
Documents
Product files
User-generated content
Deploy only the required release assets and preserve live-generated data.
Step 15: Clear Relevant Caches
After deployment, old cached files may continue being served.
Depending on the setup, review:
Page cache
Object cache
CDN cache
Plugin cache
Asset cache
Clear only the caches affected by the release where practical.
A cache purge is not automatically necessary for every deployment.
Step 16: Verify URLs, SSL, and Routing
After release, check:
Homepage
Important pages
Posts
Archives
Search
Custom post types
REST API endpoints
HTTPS
Secure assets
Webhooks
Watch for:
Redirect problems
Mixed content
Broken routes
Incorrect environment URLs
Step 17: Run Production Smoke Tests
Immediately after deployment, test the site's most important workflows.
For a normal website:
Homepage ↓ Navigation ↓ Search ↓ Contact Form ↓ Login
For WooCommerce:
Product ↓ Cart ↓ Checkout ↓ Payment ↓ Order
Use controlled verification methods for production payment testing.
Step 18: Verify the WordPress Admin
Check:
Dashboard
Plugin screens
Theme settings
Reports
Important administrative workflows
Look for:
PHP warnings
JavaScript errors
Missing assets
Database issues
Permission problems
Frontend testing alone is not enough for a complex WordPress application.
Step 19: Verify Email and Forms
Test important workflows such as:
Contact forms
Registration
Password reset
Order notifications
Support forms
Use controlled test accounts where possible.
Avoid generating unnecessary real customer emails during verification.
Step 20: Verify WooCommerce
For ecommerce deployments, check:
Products
Cart
Checkout
Orders
Payment gateway
Webhooks
Emails
Refund workflows where relevant
Customer accounts
Use the appropriate sandbox or controlled testing process whenever available.
Step 21: Verify External APIs
Check integrations such as:
CRM
Analytics
Email providers
AI services
Payment gateways
Calendar tools
Shipping services
Verify:
Authentication
Endpoint configuration
Response handling
Error handling
Webhooks
Rate limits
External services can fail independently of your WordPress application.
Step 22: Verify Cron Jobs
After deployment, check scheduled tasks.
Confirm:
Expected events exist
Duplicate jobs were not created
Tasks execute correctly
Failures are logged
External side effects are expected
Critical automation should be monitored after its first relevant execution.
Step 23: Review Logs
Review relevant:
PHP logs
WordPress logs
Web server logs
Application logs
Database errors
API failures
Compare post-release behavior with the previous version.
Do not store credentials, tokens, or other sensitive secrets in logs.
Step 24: Monitor Performance
A release can affect performance even when functionality appears correct.
Review:
Server response time
Database performance
API response times
JavaScript execution
Memory usage
Error rates
Watch for sudden regressions following deployment.
Step 25: Verify Security
After deployment, confirm that security controls remain active.
Check:
Authentication
Authorization
Capability checks
Nonces
Input validation
Sanitization
Output escaping
HTTPS
File permissions
API credentials
Never allow a deployment to accidentally enable development-only behavior.
Step 26: Verify the Environment
Confirm production is actually using production configuration.
For example:
Environment = Production Database = Live API = Production Email = Live Payments = Live Debug Display = Disabled
This simple verification can prevent configuration mistakes.
Step 27: Monitor After Deployment
Some problems only appear under real traffic.
Monitor:
Error rates
Checkout failures
Slow requests
Failed API calls
Cron failures
Database issues
Customer reports
Monitoring should continue beyond the first smoke test.
WordPress Plugin Production Deployment
For plugin releases, verify:
Version
Files
Dependencies
Activation
Upgrade
Database migration
Admin screens
Frontend behavior
REST/AJAX
Cron
Uninstall behavior
For marketplace plugins, test clean installation and upgrades on supported WordPress and PHP environments.
WordPress Theme Production Deployment
For themes, verify:
Templates
Styles
JavaScript
Navigation
Responsive layouts
Accessibility
Customizations
WooCommerce behavior
Child-theme compatibility where applicable
Do not overwrite existing customizations without understanding how they were implemented.
WordPress AI Production Deployment
For AI integrations, verify:
Production API credentials
Provider endpoint
Usage limits
Timeouts
Response validation
Error handling
Data transmission
Secret API keys should remain server-side.
REST API and WebSocket Deployment
After REST API changes, test:
Routes
Permissions
Authentication
Validation
Responses
Errors
For WebSocket applications, verify:
Production endpoint
Secure connection
Authentication
Proxy configuration
Reconnection
Connection health
Use separate staging endpoints for testing.
Rollback Planning
A rollback plan should exist before production deployment.
Possible rollback components include:
Previous application version
Previous dependencies
Previous configuration
Database backup
Release artifact
A basic process is:
Problem ↓ Stop Changes ↓ Assess ↓ Rollback or Fix Forward ↓ Smoke Test ↓ Monitor
Database rollback requires extra caution because restoring an older database can overwrite legitimate data created after the release.
Sometimes fixing forward is safer than restoring the entire database.
Zero-Downtime Deployment
Large websites may require minimal interruption.
Possible strategies include:
Atomic file releases
Load balancing
Blue-green deployment
Rolling deployment
Not every WordPress website needs these approaches.
Choose infrastructure according to traffic, architecture, and business requirements.
Production Deployment Checklist
Before Deployment
Release defined
Staging tests passed
Compatibility checked
Dependencies reviewed
Database changes tested
Backup verified
Rollback plan ready
During Deployment
Production configuration verified
Code deployed
Dependencies deployed
Migrations applied
Relevant caches handled
Maintenance strategy followed
After Deployment
Homepage tested
Admin tested
Forms tested
WooCommerce tested
APIs tested
Cron checked
Logs reviewed
Performance monitored
Security verified
Common WordPress Deployment Mistakes
Deploying Untested Code
Production should receive approved changes.
No Backup
Recovery becomes difficult.
Skipping Staging
Problems may appear first in production.
Copying Staging Over Production
Test data can overwrite live content.
Forgetting Database Migrations
Application code and database schemas can become incompatible.
Wrong Credentials
Production may receive test credentials or staging may access live services.
Live Payments in Testing
This can create real transactions.
Real Emails From Staging
Customers can receive unintended messages.
Ignoring Caches
Visitors may continue receiving outdated assets.
Skipping Smoke Tests
Critical failures can remain unnoticed.
Ignoring Logs
Post-release errors can grow without detection.
Recommended WordPress Production Deployment Workflow
Use this practical process:
1. Plan
Define the release and its risks.
2. Develop
Build and test locally.
3. Stage
Verify the release in a production-like environment.
4. Review
Check code, security, dependencies, and migrations.
5. Backup
Create and verify the production backup.
6. Configure
Confirm production-specific settings.
7. Deploy
Release approved code and dependencies.
8. Migrate
Apply required database changes.
9. Verify
Run smoke tests and review logs.
10. Monitor
Watch production behavior after release.
11. Document
Record the final deployment state and any known issues.
A Practical Deployment Architecture
Developer ↓ Git Repository ↓ Automated Checks ↓ Local Testing ↓ Staging ↓ Approval ↓ Production Backup ↓ Release ↓ Production ↓ Smoke Test ↓ Monitoring
Each stage reduces the chance of avoidable production problems.
How to Make WordPress Deployment Safer
Focus on repeatability.
Automate where practical:
Testing
Coding-standard checks
Dependency installation
Build generation
Release packaging
Deployment
Health checks
Keep human review for high-impact changes.
Automation should make deployment more predictable, not remove responsibility.
When Manual Deployment Is Appropriate
Manual deployment can work for:
Small websites
Infrequent releases
Low-risk changes
Simple hosting setups
Even manual deployment should use:
Version control
Backups
Staging
Checklists
Smoke testing
Manual does not have to mean unstructured.
When Automated Deployment Is Useful
Automation becomes increasingly valuable when:
Releases are frequent
Multiple developers collaborate
The application is complex
Multiple environments exist
Deployment mistakes are costly
Repeatability is important
A good automated pipeline can make every release more consistent.
Why Choose ThemeKaddora?
ThemeKaddora provides WordPress plugins, themes, WooCommerce solutions, AI tools, analytics products, marketing tools, automation solutions, HTML templates, UI kits, and SaaS-focused digital products.
Professional digital products benefit from a controlled production deployment process that separates:
Development
Staging
Production
Configuration
Dependencies
Database migrations
Monitoring
A ThemeKaddora-style deployment workflow can emphasize:
Tested release packages
Secure environment configuration
Verified backups
Compatibility checks
Controlled migrations
Post-release validation
Clear documentation
For marketplace products, reliable deployment practices are particularly important because the software can run across many hosting environments.
The objective is simple:
Make every release repeatable, testable, and recoverable.
Final Thoughts
WordPress production deployment should be treated as an engineering process rather than a file-upload task.
A reliable workflow is:
Plan
↓
Develop
↓
Test
↓
Stage
↓
Backup
↓
Deploy
↓
Migrate
↓
Verify
↓
Monitor
The most important principles are straightforward.
Test before production.
Use staging.
Create verified backups.
Separate code from configuration.
Protect secrets.
Test database migrations.
Use the correct production credentials.
Control email and payments.
Handle caches appropriately.
Run smoke tests.
Review logs.
Monitor performance.
Maintain a rollback strategy.
Small websites may only need a lightweight process.
Larger WordPress applications, WooCommerce stores, and SaaS-connected products may require CI/CD, automated testing, dependency management, versioned migrations, and monitoring.
The architecture should match the project's risk.
The ultimate objective remains the same:
Move tested software into production without unnecessarily disrupting the live website or its users.
A disciplined deployment process turns releases into predictable operations instead of stressful one-time events.
Frequently Asked Questions
What is WordPress production deployment?
It is the process of moving tested WordPress code, dependencies, configuration, and required database changes into the live environment.
Why is production deployment important?
A controlled process reduces the risk of downtime, broken features, data problems, configuration mistakes, and failed integrations.
Should WordPress changes be tested on staging first?
For important changes, yes. Staging provides a production-like environment where problems can be discovered before release.
Why create a backup before deployment?
A verified backup provides a recovery option when a release or migration causes an unexpected problem.
What should be included in a production backup?
Depending on the website, this can include the database, WordPress files, uploads, configuration, and application-specific data.
Should live payment credentials be used for testing?
Routine testing should use appropriate sandbox or test credentials whenever available.
How should staging email work?
Use controlled or captured email delivery so staging does not accidentally contact real customers.
Should production errors be publicly displayed?
Generally no. Production should use controlled logging and monitoring rather than exposing internal error details.
How should production API credentials be protected?
Keep them in secure server-side configuration and never expose them through public repositories or frontend code.
Should WordPress caches be cleared after deployment?
Relevant caches may need to be cleared when code or assets change, but unnecessary cache purges should be avoided.
Does every WordPress website need zero-downtime deployment?
No. It is mainly useful when even short interruptions create significant operational impact.
Can manual WordPress deployment be safe?
Yes, when combined with staging, backups, version control, checklists, testing, and verification.
Why choose ThemeKaddora?
ThemeKaddora provides WordPress plugins, themes, WooCommerce solutions, AI tools, analytics, automation products, HTML templates, UI kits, and other digital solutions designed around modern website and business requirements.
Comments (0)